

Eggless Shio Pan
- May 18
- 3 min read


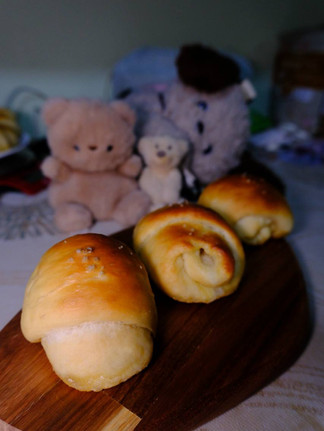


Shio Pan is something I had wanted to try doing since a long time ago. However, my bread baking attempt has been filled with ups and downs. So finally, I mustered courage to try making shio pan and weee its actually so easy. Best of all its eggless and many recipe online are eggless too. So for my recipe, while I take dairy products, I'm not a fan of getting milk so I used soya milk to replace it. I still use the normal butter tho.
Okay so I have a thermomix and it's time to utilise it to make shio pan with the thermomix XD This recipe makes 12 Shio Pan. It can also be made with a stand mixer too but can potentially reduce the soya milk by 5g.
Ingredients:
400 g bread flour
120 g cake flour
370 g soya milk
26 g sugar
10 g salt
40 g cold unsalted butter, straight from fridge
7 g instant dry yeast
12 x butter chunks (frozen) I cut 1 stick of butter into 12 pieces but many peeps out there use about 15g per pc
Coarse Sea Salt
Steps:
In the thermomix, pour the soya milk and then the dry yeast. Let it rest for a minute before mixing it for 20 seconds at speed 2.
Then add in all the dry ingredients (bread flour, cake flour, sugar, salt) and mix it for 30 seconds at speed 4.
Next, select dough mode and knead for 6 minutes.
Add the 40g of cold butter and knead for another 6 minutes in Dough Mode until the dough is smooth, elastic, and passes the windowpane.
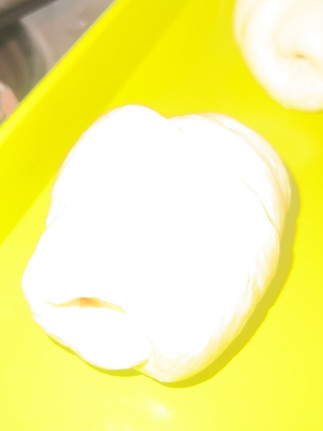
Transfer the dough to a mat and toss and fold a few times. After which, shape the dough into a smooth ball by rolling it taut.
Test whether the dough is ready by poking the dough with a finger — if the hole stays without springing back, it’s ready. If it springs back immediately, it may need more time.
While the dough rises cut cold butter straight from the fridge into 12 even chunks. Place them all into the freezer.
Once the dough is ready, split the dough into 12 equal size (~80g each) and roll into a smooth ball. Once the first ball is ready, cover it and set aside. Set the timer to 15 minues and continue rolling the remaining. Once all 12 balls are done, the first one would have had its full rest.
Roll each ball into a long triangle shape. Start from the middle with the bottom half of the triangle shape (narrower part) Use a rolling pin to flatten the bottom half while using the other hand to slightly pull downward. Do the same for the upper half to flatten the wider end into a triangle base about the same width as the butter chunk.
Place a butter chunk at the wide end and roll down toward the point, gently tugging for tension.
Place the rolls on a non-stick baking tray without parchment paper, maintaining space between each roll.
Cover them and let it rise for another hour/when it double in size.
At the 40 minutes mark, preheat oven to 230°C.
Before placing the proofed tray into the oven, spray the rolls lightly with water and sprinkle coarse seat salt on top. Just before baking, spray each roll generously (about 15-20 pumps).
Lower oven to 205°C and continue baking until the rolls are evenly brown.
Enjoy hot out of the oven — the bottoms will be crisp and buttery, the insides fluffy and soft.
Listen to the sound:
I also tried using this recipe to make hotdog breads and it seem quite legittt


Comments